Main Render Settings
Main Render Settings
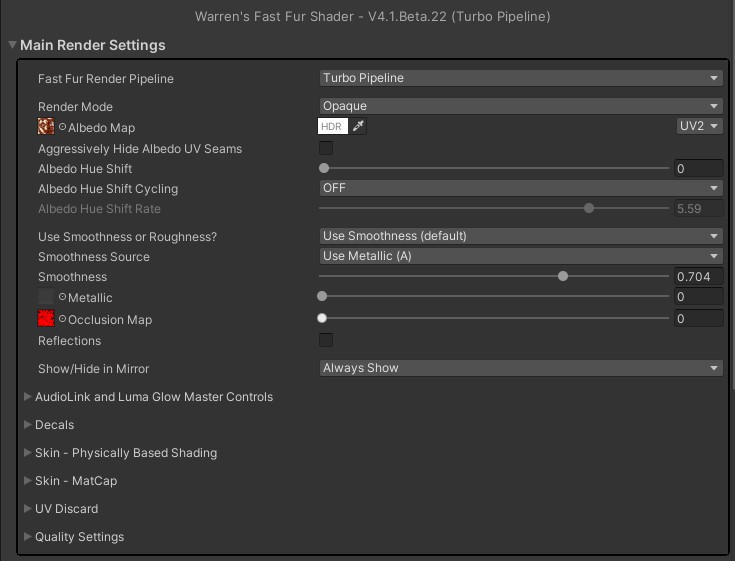
Fast Fur Render Pipeline
This determines how the shader works internally:
- Fallback Pipeline - Slow
- Turbo Pipeline - Fast <- This is always the recommended option
Super Pipeline - Very Fast
The Super Pipeline is currently unavailable due to AMD driver bugs. For more details about each option, consult the Fast Fur Render Pipeline options page.
Render Mode
If the shader is set to "Cutout", then any areas where the Albedo Map's Alpha channel is lower than the "Alpha Cutoff" value will be see-through. "Opaque" disables this feature.
Aggressively Hide Albedo UV Seams
Hair combing works by shifting texture sample UV coordinates. For the albedo map, this allows the shader to colour each hair to match the colour at the hair's root.
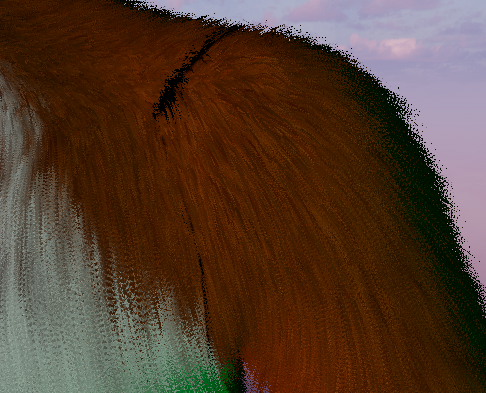
However, if a sample location is adjacent to a UV island edge, this may cause the sample to be taken from a location that is outside of the visible mesh. If the texture does not have enough "overpainting", then the sample may be black or some other incorrect colour.
The ideal fix is to add more overpainting to the albedo map using Substance Painter, Blender, or whichever program originally created the textures. If this is not possible, then "Agressively Hide Albedo UV Seams" can be used to disable the UV texture shifting for the albedo map. The downside of this feature is that the individual hairs will no longer be consistently coloured, but rather they will change colour along their lengths as the albedo map changes colour below them.
Albedo Hue Shift
Allows the albedo map's colour to be "rotated", so that Red -> Green -> Blue -> Red.
If the "Albedo Hue Shift Cycling" is set to use an AudioLink channel, then the hue will shift whenever the matching AudioLink band is active, with stronger sounds rotating faster. When the sound stops, the rotation will stop, and it will remain on the colour it has stopped at until another matching sound plays.
Smoothness
Smoothness currently only affects the skin. The fur has simplified lighting, and does not currently support it.
Smoothness determines how sharp or diffuse light reflections are. There are 2 possible sources for the Smoothness strength: the albedo texture alpha channel, or the metallic texture alpha channel. If the metallic texture alpha texture is selected, but no metallic texture is provided, then the Smoothness will be directly settable with a slider instead
Metallic
The metallic map is a single channel map (ie. red) that determines how metallic the surface it.
Metallic surfaces reflect light rather than absorbing and re-emitting it. Because of this, if the material is set to be metallic, but "Reflections" are turned off, the material will appear to be very dark because there is nothing to reflect except the lights in the scene.
Note that the fur uses a simplified approximation of metallic lighting, and will not match the appearance of the skin which uses Unity's standard lighting functions. The fur only takes metallic texture samples at each vertex, which are then averaged across the surface of each triangle.
Occlusion Map
The occlusion map is a single channel map (ie. red) that determines how much light is able to reach the surface.
Currently, the occlusion map is also used by the fur "Touch Response" feature, to selectively turn responsiveness off and prevent it from triggering falsely in body crevices.
Reflections
If a world does not have reflection probes, then this option will do nothing.
The fur will only reflect if it is metallic, since it currently does not support smoothness. The skin will reflect if it is metallic and/or smooth.
Show/Hide in Mirror
This feature is specific to VR Chat mirrors. Determines if the shader will only render in mirrors, not render in mirrors, or always render.
AudioLink and Luma Glow Master Controls
Master Enable / Strength
The Master controls affect all AudioLink effects:
- Decals
- Emission Map
- Albedo Hue Cycling
- Hair Vibration
These individual AudioLink effects must also be enabled and configured separately, in their respective shader settings.
Note: Furality's "Luma Glow" effects are based on AudioLink. The shader handles both similarly.
Dynamic Layers
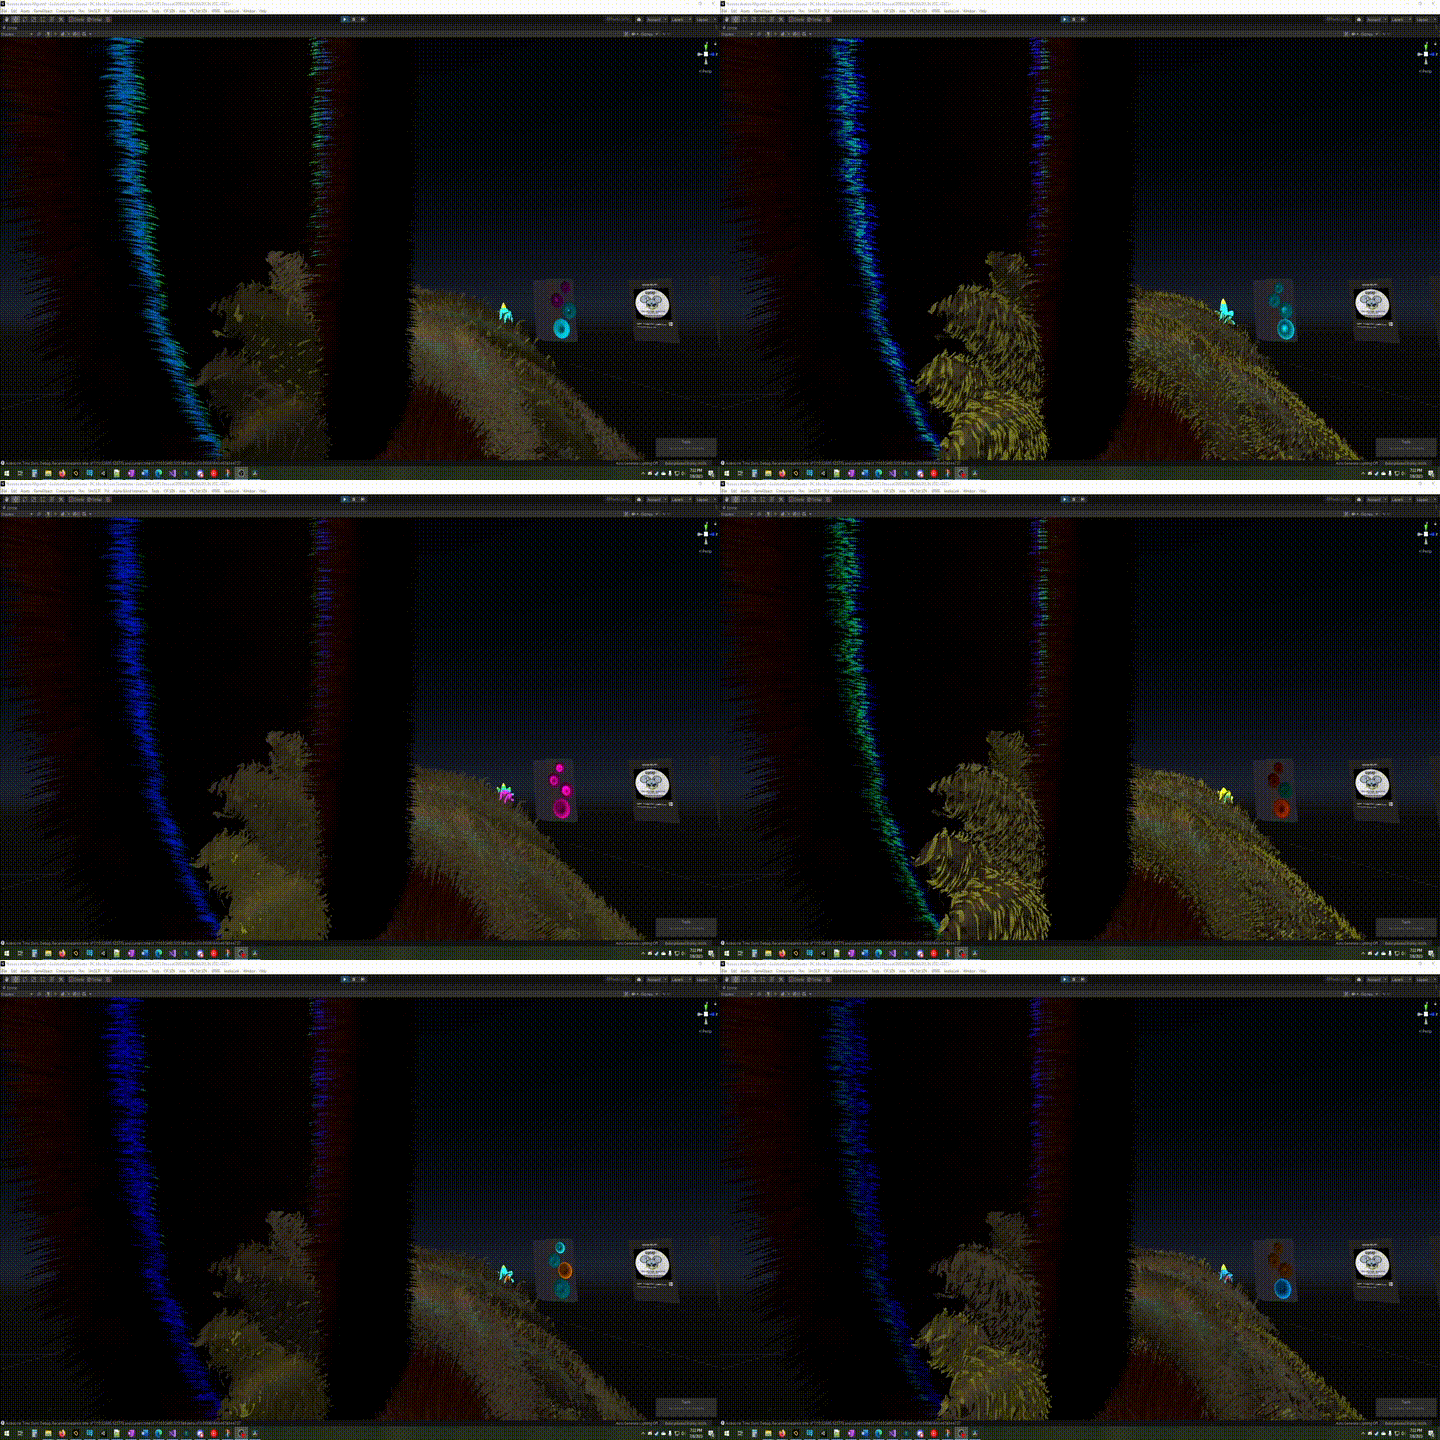
Dynamic layers apply AudioLink effects as a moving layer, starting at the hair's roots and moving outwards towards the tips.
Because the number of fur layers being rendered decreases with distance, the dynamic layer effect is most pronounced at closer distances when lots of layers of fur are being rendered. At further distances the effect will tend to strobe, rather than appear to be moving.
"Dynamic Layers Filtering" will interpolate and blend incoming AudioLink data, causing the effect to fade out more slowly.
Static Layers
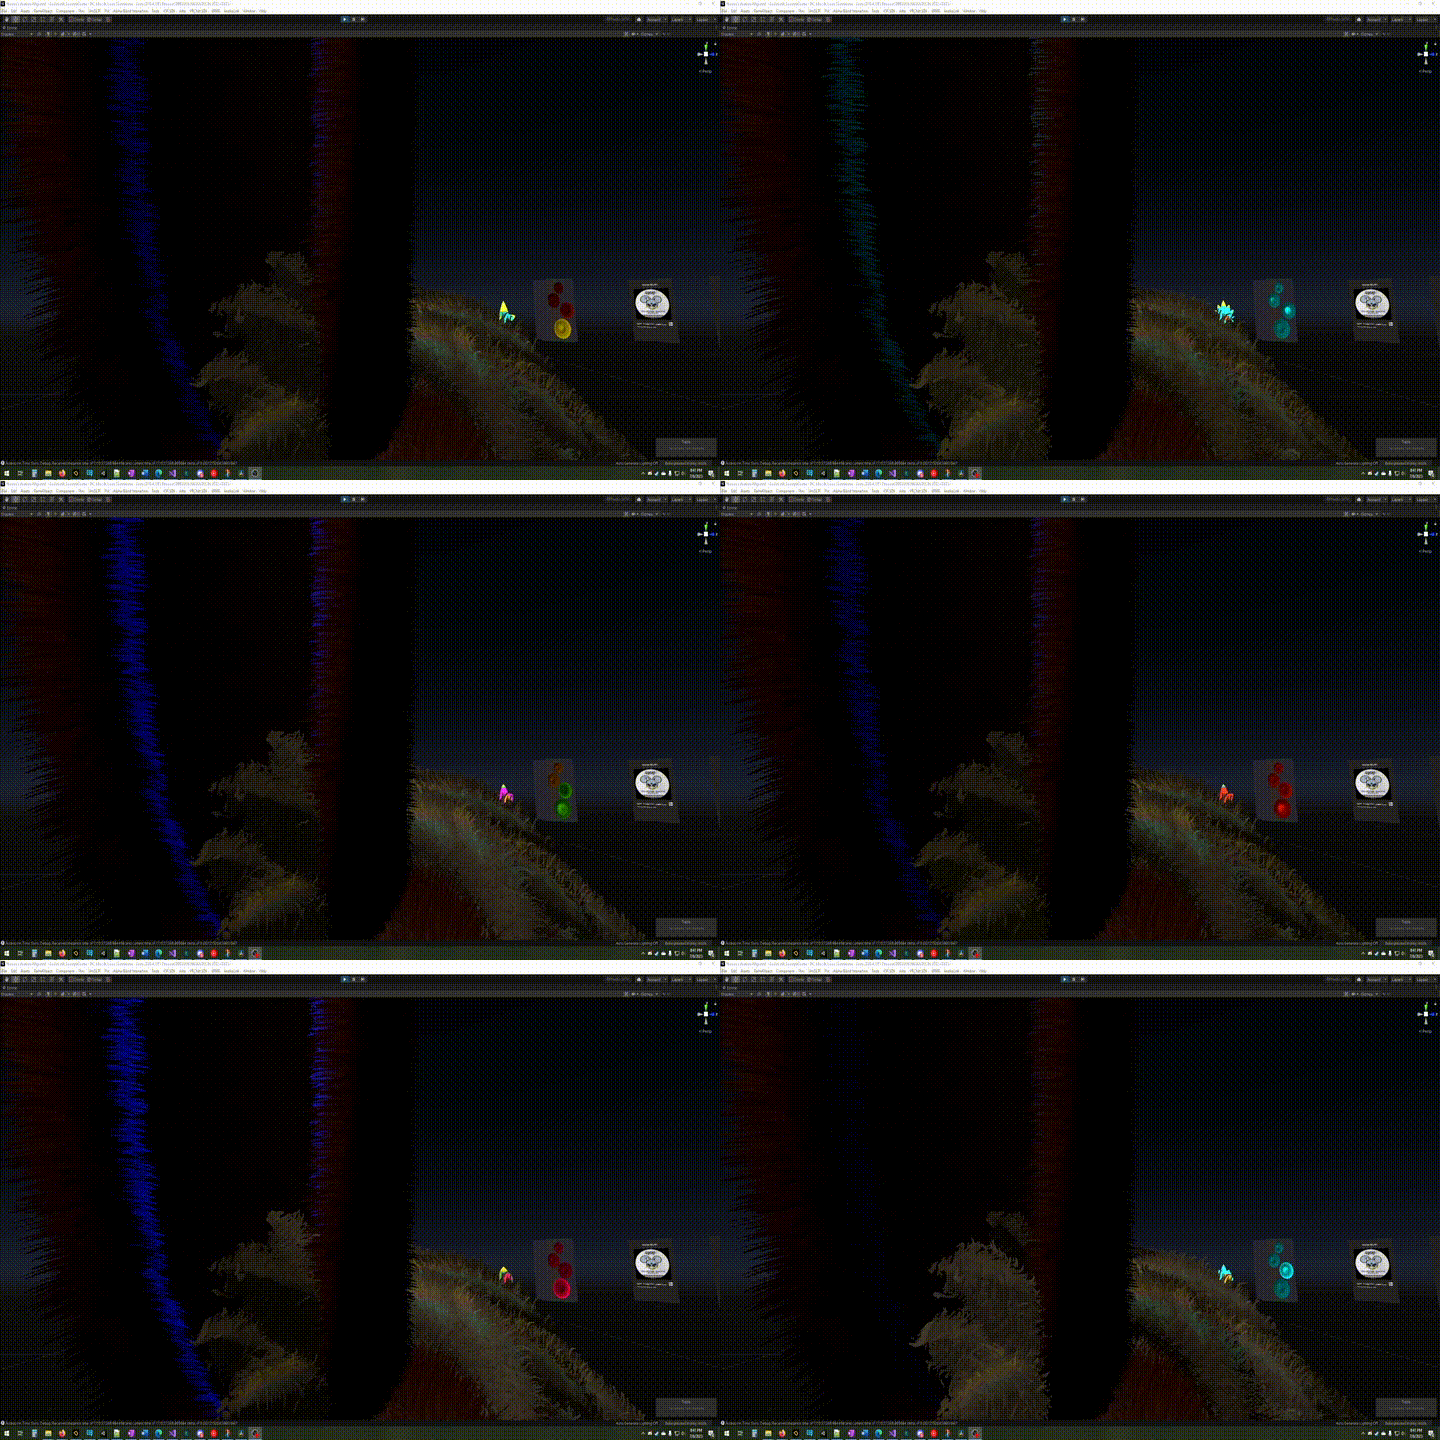
Static layers apply AudioLink effects in 4 blended layers: skin, roots, middle, and tips.
The effect does not move; all layers light up at the same time.
"Static Layers Filtering" will use interpolated AudioLink data, causing the effect to fade out more slowly.
Decals
Decal Positioning / Sizing
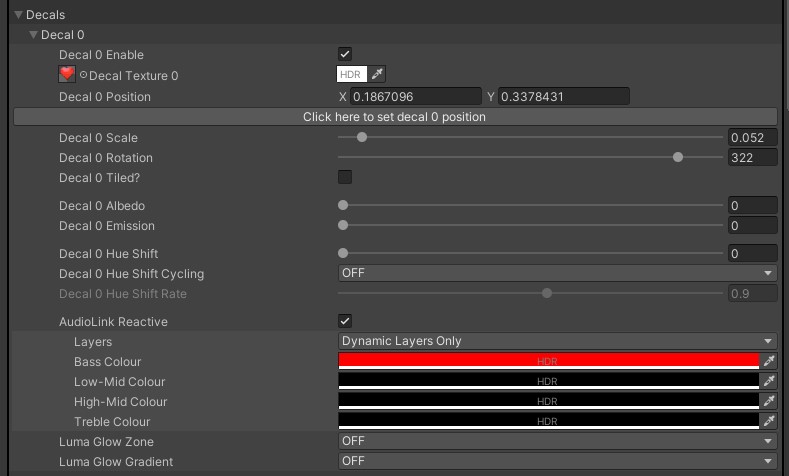
The decal UV coordinates specify the centre of the decal. The centre of the decal remains fixed when rotation and scaling are applied.
Although the decal's position can be set manually, it is much easier to zoom-in to where you want the decal to be, then click the "Click here to set decal position" button. Note that this uses Unity's raycasting, which does not always work reliably (I'm not sure why). If it does not work, move or rotate the camera slightly and try again.
If tiling is on, the decal will repeat. Otherwise it will only appear in one location.
Decal Albedo
The decal will be applied as though it is part of the fur's albedo colour.
Decal Emission
The decal will give off its own light.
Note that if you intend the decal to only light up when AudioLink is active, you should leave this off.
Decal Hue Shift
Allows the decal map's colour to be "rotated", so that Red -> Green -> Blue -> Red.
If the "Decal Hue Shift Cycling" is set to use an AudioLink channel, then the hue will shift whenever the matching AudioLink band is active, with stronger sounds rotating faster. When the sound stops, the rotation will stop, and it will remain on the colour it has stopped at until another matching sound plays.
AudioLink Reactive
When an AudioLink band is active, the decal will give off additional emission. This can be applied as static layers, dynamic layers, or both.
Each of the 4 AudioLink bands can be assigned to light up with its own colour, which will be multiplied by the decal's colour. Typically this means you would want to use white decals for AudioLink effects, so that the actual colour can then be determined by the AudioLink band colour.
In the screen grab above, I have configured a heart decal on my chest to light up the dynamic layers in red whenever a bass note plays.
Luma Glow
Luma Glow allows a world to broadcast colour data directly, rather than as a reaction to music.
"Zones" will be applied as a consistent emission colour along the entire length of the hairs, using the AudioLink static layer skin, root, middle, and tips strength settings.
"Gradients" will be applied as a gradient of emission colours, changing along the length of the hairs.
The differences between the various zones and gradients is determined by the world's authour.
Skin - Physically Based Shading
PBS Skin Strength
To maximize speed, the shader's fur layers use many lighting calculation shortcuts and approximations. The skin, however, can use proper physically based shading, which allows for more realisitic and accurate lighting effects.
Setting the PBS Skin Strength to 0 will cause the shader to use the same simplified calculations for the skin, which may be desireable in order to match the appearance of the skin and the fur in all lighting conditions.
PBS Skin Depth Visibility
If the fur is thicker than this setting, then the underlying skin will not use physically based shading (note: this setting will be removed in a later version, and will be calculated automatically instead).
Normal Map
A normal map allows the skin to have fine 3D details, such as wrinkles, that will react to light correctly.
Specular Highlights
If enabled, specular highlights will show light sources being reflected off of glossy surfaces. The smoothness strength will determine how spread out or sharply focussed the reflection will appear.
Two-Sided Rendering
Normally, only the forward-facing side of the skin is rendered. If two-sided rendering is enabled, the back-facing side will also be rendered. An optional albedo colour, or an emission colour can also be applied.
Note that the lighting calculations are always done from the perspective of the forward-facing side, which means that the lighting will be backwards for back-facing triangles.
There is a slight performance hit of about 1-2% when two-sided rendering is enabled.
Skin - MatCap
MatCap Texture
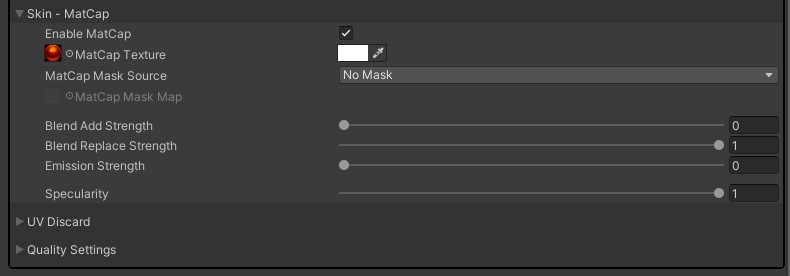
MatCap textures (short for "Material Capture") are a simplified way of simulating reflections. The direction you are looking, combined with the surface angle, determine where samples are taken from the texture, which creates the appearance of a reflective surface. The reflection will not be of the surrounding world, but rather is determined entirely by the MatCap texture itself.
MatCap Mask
An optional mask can be applied that will determine the strength of the MatCap, from 0-1. The source of this mask can come from 5 different locations:
- The red channel of a separate "MatCap Mask Map"
- The alpha channel of the "MatCap Texture"
- The alpha channel of the "Albedo Map"
- The alpha channel of the "Metallic Map"
- The red channel of the "Metallic Map"
Blend Add / Blend Replace / Emission Strength
"Add" will add the MatCap albedo to the skin albedo.
"Replace" will substitute the MatCap albedo instead of the skin albedo. This is usually the prefered behaviour.
"Emission" will add the MatCap albedo as additional light.
Specularity
Normally, this should be set to 1 so that the appearance of the MatCap changes as the viewing angle changes, giving the illusion of a reflective surface. However, if specularity is set to 0, then the MatCap's appearance will depend entirely upon the direction that the surface is facing in the world, regardless of the viewing angle.
UV Discard
UV Discard is an advanced feature that allows sections of a mesh to be discarded on-the-fly. This can be used to hide clothing or other accessories.
The mesh must be pre-configured in Blender (or any other 3D software) so that the sections to be selectively discarded use specific UV coordinate ranges.
Typically, all vertex UV coordinates are located between 0-1. These coordinates are then used to determine where to take any texture samples.
However, if a UV coordinate is outside of this 0-1 range, the texture samples will still work because the GPU will tile the textures. For example, a sample taken from location (1.5, 1.5) will be return the same result as one taken from (0.5, 0.5).
UV Discard detects when this happens, and if desired it can then discard the vertex so that it does not render.
Discard UV
Most meshes only use a single set of UV coordinates, namely UV0. However, it is possible to have up to 4 sets of UV coordinates. This option determines which set to use for the purposes of calculating UV Discard.
UV Discard Grid
Each of the 16 toggles in this grid represents the starting address of a UV coordinate range. The columns represent the starting U coordinate, and the rows represent the starting V coordinate.
For example, the bottom-left toggle represents the range of (0.0, 0.0) - (1.0, 1.0), which is the default range that most meshes use. For most meshes (ie. meshes that haven't been set-up to use non-standard UV coordinates), enabling this toggle will result in the entire mesh being discarded.
The highest supported UV range is the upper-right toggle, which represents the range of (3.0, 3.0) - (4.0, 4.0).
Quality Settings
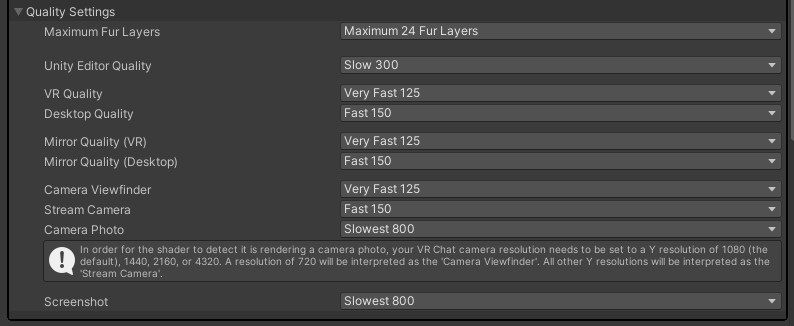
Maximum Fur Layers
This setting only affects the quality of the shader when viewed up-close (ie. hugging/snuggling/sticking-your-nose-in-a-mirror distance). At a more typical conversational distance the shader is usually rending around 8-10 layers, regardless of this setting. Each time the distance doubles the number of layers drops by half, and when the number of layers drops below 1 the fur stops rendering.
Note that the 32-layer option has a moderate performance hit of about 5% versus the 24-layer option, even when rendering only 8-10 layers. Because of this, the 24-layer option is the default, and is recommended for most uses.
The performance hit of using 24-layers instead of 16 is much less, roughly 1-2%. However, if your avatar has a high poly count, you may want to limit the layers to 16 anyway, to reduce stuttering on lower end GPUs when hugging/snuggling/sticking-your-nose-in-a-mirror.
The Lite version of the shader has a fixed limit of 16 layers, and does not display this option.
Quality Settings
The shader detects where it is rendering (in VR, on desktop, in a VR Chat screenshot, etc...) and then uses the options in this section to choose a target layer density. For example, "Slow 300" will render at double the resolution of "Fast 150".
Most of the information that allows the shader to determine where it is rendering is provided by VR Chat. However, there are a couple of exceptions.
Detecting "Unity Editor Quality" requires that the shader's GUI has been opened at least once since starting Unity, until then it will render at "Desktop Quality".
Differentiating between the "Camera Viewfinder", "Camera Photo", and "Stream Camera" depends upon checking the target Y resolution. Resolutions of 1080, 1440, 2160, or 4320 will be assumed to be a "Camera Photo", a resolution of 720 will be assumed to be the "Camera Viewfinder", and everything else will be assumed to be the "Stream Camera".
Note: In a future update, most of these options will be removed and replaced with a simplified "Maximum Range" slider.
